Raspberry Pi VPC Network Tutorial: Your Ultimate Guide To Setting Up A Virtual Private Cloud
Setting up a Raspberry Pi VPC network can seem daunting at first glance, but with the right guidance, it becomes an accessible project for both beginners and advanced users alike. As more individuals and businesses embrace the flexibility of cloud computing, understanding how to create and manage your own Virtual Private Cloud (VPC) using Raspberry Pi offers countless possibilities. Whether you're looking to enhance your home automation system or develop a secure network for a small business, this tutorial will provide everything you need to know.
This Raspberry Pi VPC network tutorial aims to demystify the process by breaking down complex concepts into manageable steps. We'll explore the basics of VPCs, the role of Raspberry Pi in cloud computing, and how to configure your own private cloud infrastructure. By the end of this guide, you'll have the skills and confidence to set up your own VPC network.
Regardless of your technical background, this article is designed to cater to all levels of expertise. From choosing the right hardware and software to configuring your network settings, we'll walk you through each step with detailed instructions and practical tips. Let's dive in and explore the exciting world of Raspberry Pi VPC networks!
Read also:Understanding Maurice Benard The Journey Of A Talented Actor
Table of Contents:
- Introduction to Raspberry Pi VPC Network
- What is Raspberry Pi?
- Understanding Virtual Private Cloud (VPC)
- Hardware and Software Requirements
- Installing the Necessary Software
- Configuring the Raspberry Pi Network
- Setting Up the VPC Network
- Enhancing Security Measures
- Common Issues and Troubleshooting
- Conclusion and Next Steps
Introduction to Raspberry Pi VPC Network
As technology continues to evolve, the demand for secure and efficient cloud solutions grows exponentially. A Raspberry Pi VPC network allows users to create their own private cloud environment, offering enhanced security and control over data. This tutorial will guide you through the process of setting up a VPC network using Raspberry Pi, ensuring that you have a robust and scalable infrastructure tailored to your needs.
A VPC network provides a secure and isolated environment for your applications and services. By leveraging Raspberry Pi's capabilities, you can establish a cost-effective solution that rivals commercial cloud providers. This guide will cover everything from the basics of VPC to advanced configuration techniques, ensuring that you have the tools and knowledge to succeed.
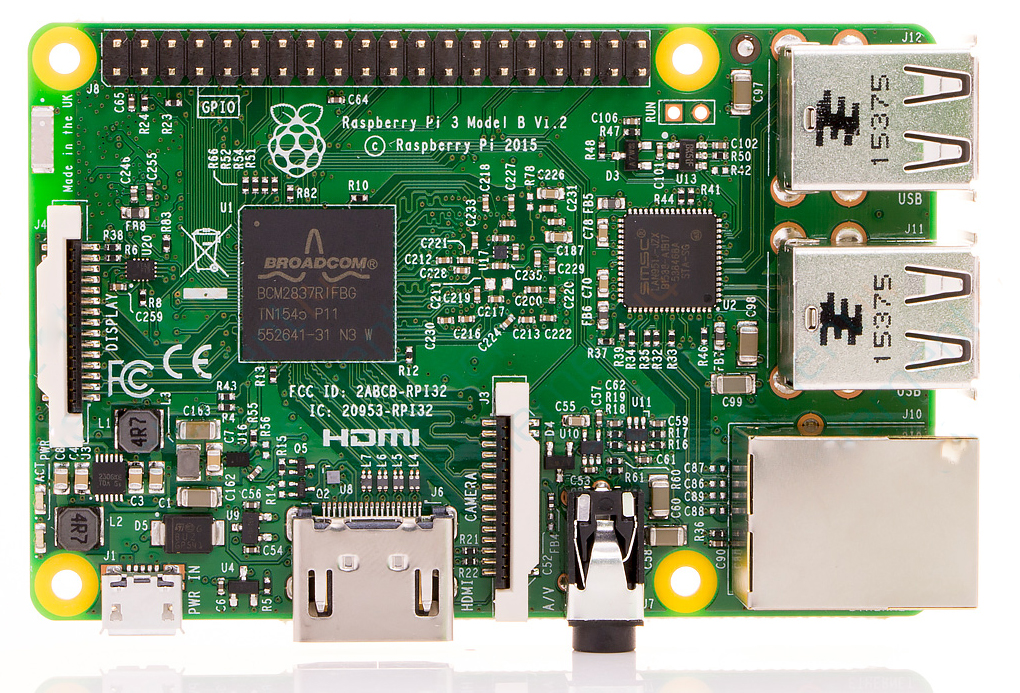
What is Raspberry Pi?
Raspberry Pi is a series of small single-board computers developed by the Raspberry Pi Foundation. Originally designed to promote computer science education, Raspberry Pi has evolved into a versatile platform for various applications, including home automation, media centers, and cloud computing. Its affordability and flexibility make it an ideal choice for setting up a VPC network.
Key features of Raspberry Pi include:
- Compact size and low power consumption
- Support for multiple operating systems
- Extensive community support and resources
- Compatibility with a wide range of peripherals
Understanding Virtual Private Cloud (VPC)
A Virtual Private Cloud (VPC) is a private network environment within a public cloud infrastructure. It allows users to deploy and manage resources securely, isolating them from other networks. VPCs offer several advantages, including:
Read also:What Makes A House A Manor Exploring The Distinctive Features And Historical Significance
- Enhanced security through private IP addresses and network isolation
- Scalability to accommodate growing workloads
- Customizable network configurations
- Cost-effective solution for small to medium-sized businesses
By combining Raspberry Pi with VPC technology, you can create a personalized cloud environment that meets your specific requirements. This tutorial will walk you through the process of setting up and managing your own VPC network.
Hardware and Software Requirements
Raspberry Pi Models
Selecting the right Raspberry Pi model is crucial for your VPC network. Here are some popular options:
- Raspberry Pi 4 Model B: Ideal for high-performance applications
- Raspberry Pi 3 Model B+: Suitable for moderate workloads
- Raspberry Pi Zero W: Compact and cost-effective for lightweight tasks
Ensure that your chosen model meets the processing and memory requirements for your intended use case. Additionally, consider factors such as power supply, cooling solutions, and connectivity options.
Software Requirements
Before setting up your Raspberry Pi VPC network, you'll need to install the necessary software. This includes:
- Raspberry Pi OS: A lightweight operating system optimized for Raspberry Pi
- Docker: A containerization platform for deploying applications
- OpenVPN: A secure network solution for VPC configurations
Refer to the official Raspberry Pi documentation and community forums for detailed installation instructions and troubleshooting tips.
Installing the Necessary Software
Once you've selected your hardware and software, the next step is to install the required components. Begin by downloading and installing Raspberry Pi OS on your device. Follow these steps:
- Download the latest version of Raspberry Pi OS from the official website
- Use a tool like Balena Etcher to flash the OS image onto an SD card
- Insert the SD card into your Raspberry Pi and power it on
After completing the initial setup, proceed to install Docker and OpenVPN. These tools will play a critical role in configuring your VPC network. Refer to the official documentation for each software package to ensure proper installation.
Configuring the Raspberry Pi Network
Setting Up Static IP Address
Assigning a static IP address to your Raspberry Pi ensures consistent network communication. Follow these steps to configure your device:
- Open the terminal and edit the network configuration file
- Specify the desired IP address, subnet mask, and gateway
- Save the changes and restart the networking service
Verify the settings by checking the IP address using the ifconfig or ip addr command.
Configuring Firewall Settings
A firewall is essential for securing your VPC network. Use tools like ufw (Uncomplicated Firewall) to manage incoming and outgoing traffic. Here's how to set it up:
- Install
ufwon your Raspberry Pi - Allow specific ports and services, such as SSH and HTTP
- Enable the firewall and monitor its status
Regularly review and update your firewall rules to address potential security threats.
Setting Up the VPC Network
With the foundational components in place, you can now proceed to set up your VPC network. This involves configuring subnets, routing tables, and security groups. Follow these steps:
- Create subnets to divide your network into manageable segments
- Define routing tables to specify traffic flow between subnets
- Set up security groups to control access to resources
Refer to the official Raspberry Pi and OpenVPN documentation for detailed instructions and best practices.
Enhancing Security Measures
Security is a top priority when setting up a VPC network. Implement the following measures to protect your data and infrastructure:
- Use strong passwords and enable two-factor authentication
- Regularly update your software and firmware
- Monitor network activity and log suspicious behavior
Stay informed about the latest security trends and vulnerabilities by following industry blogs and forums.
Common Issues and Troubleshooting
Despite careful planning, issues may arise during the setup process. Here are some common problems and their solutions:
- Network Connectivity Issues: Verify your IP address and firewall settings
- Software Installation Errors: Ensure compatibility and follow official installation guides
- Performance Bottlenecks: Optimize resource usage and consider upgrading hardware
Consult the Raspberry Pi community forums and support resources for additional assistance.
Conclusion and Next Steps
Setting up a Raspberry Pi VPC network opens up a world of possibilities for personal and professional projects. By following this tutorial, you've gained the knowledge and skills to create a secure and efficient cloud infrastructure tailored to your needs. Remember to regularly update your system and stay informed about the latest advancements in cloud computing.
We encourage you to share your experience and insights in the comments section below. Your feedback helps us improve and expand our content. Additionally, explore other Raspberry Pi tutorials on our website to enhance your skills and discover new applications. Together, let's build a brighter future with technology!
Article Recommendations