Free Download SSH RemoteIoT On Raspberry Pi: Your Ultimate Guide
SSH RemoteIoT on Raspberry Pi has become an essential tool for enthusiasts, developers, and professionals who want to remotely manage and interact with their IoT devices securely. Whether you're setting up a home automation system, building a weather station, or managing industrial IoT devices, this guide will walk you through everything you need to know about downloading, installing, and configuring SSH for Raspberry Pi-based IoT projects.
In this digital age, remote management of IoT devices is not just a luxury but a necessity. SSH (Secure Shell) is one of the most reliable protocols for securely accessing and managing remote systems, and when combined with Raspberry Pi, it becomes a powerful duo for IoT enthusiasts. This guide will provide you with step-by-step instructions, best practices, and advanced tips to ensure your IoT projects are both secure and efficient.
Whether you're a beginner or an experienced developer, this article will help you navigate the complexities of SSH RemoteIoT on Raspberry Pi. From setting up your environment to troubleshooting common issues, we've got you covered. Let's dive in!
Read also:Rashmika Mandanna The Rising Star Of Indian Cinema
Table of Contents
- Introduction to SSH RemoteIoT on Raspberry Pi
- Why Use SSH for IoT Projects?
- Overview of Raspberry Pi for IoT
- Step-by-Step Guide to Setting Up SSH on Raspberry Pi
- Security Best Practices for SSH RemoteIoT
- Troubleshooting Common SSH Issues
- Advanced Features of SSH for IoT
- Free Download Options for SSH Tools
- Real-World Examples of SSH in IoT
- Conclusion and Next Steps
Introduction to SSH RemoteIoT on Raspberry Pi
SSH RemoteIoT on Raspberry Pi is a powerful combination that allows users to securely manage and interact with IoT devices remotely. SSH, short for Secure Shell, is a cryptographic network protocol that facilitates secure communication over unsecured networks. When paired with Raspberry Pi, which is a low-cost, versatile single-board computer, SSH enables users to execute commands, transfer files, and monitor devices from anywhere in the world.
One of the key advantages of using SSH for IoT projects is its robust security features. By encrypting all data transmitted between the client and server, SSH ensures that sensitive information remains protected from unauthorized access. Additionally, SSH supports public key authentication, which adds an extra layer of security by eliminating the need for password-based logins.
Benefits of SSH RemoteIoT on Raspberry Pi
- Secure remote access to IoT devices
- Easy file transfers using SFTP
- Support for automation scripts and commands
- Compatibility with a wide range of IoT sensors and actuators
Why Use SSH for IoT Projects?
When it comes to IoT projects, security is paramount. Devices connected to the internet are vulnerable to cyberattacks, and without proper protection, sensitive data can be compromised. SSH offers several advantages that make it an ideal choice for securing IoT devices:
- Encryption: SSH encrypts all data transmitted between the client and server, ensuring that even if intercepted, the data remains unreadable.
- Authentication: SSH supports both password-based and public key authentication, allowing users to choose the method that best suits their security needs.
- Portability: SSH is widely supported across various platforms, making it easy to integrate into IoT projects regardless of the operating system or hardware used.
Furthermore, SSH is highly versatile and can be used for a variety of tasks, including remote command execution, file transfers, and port forwarding. This makes it an indispensable tool for managing IoT devices remotely.
Overview of Raspberry Pi for IoT
Raspberry Pi has become one of the most popular platforms for IoT projects due to its affordability, flexibility, and ease of use. This single-board computer is equipped with a range of features that make it ideal for IoT applications, including:
Read also:O Yeongsu Children A Comprehensive Look Into The Life And Family Of The Renowned Actor
- GPIO (General Purpose Input/Output) pins for connecting sensors and actuators
- Support for multiple operating systems, including Raspbian, Ubuntu, and others
- Low power consumption, making it suitable for battery-powered devices
- Extensive community support and resources for troubleshooting and development
When combined with SSH, Raspberry Pi becomes an even more powerful tool for managing IoT devices remotely. Its compact size and low cost make it an attractive option for both hobbyists and professionals alike.
Step-by-Step Guide to Setting Up SSH on Raspberry Pi
Setting up SSH on Raspberry Pi is a straightforward process that can be completed in just a few steps. Follow the instructions below to get started:
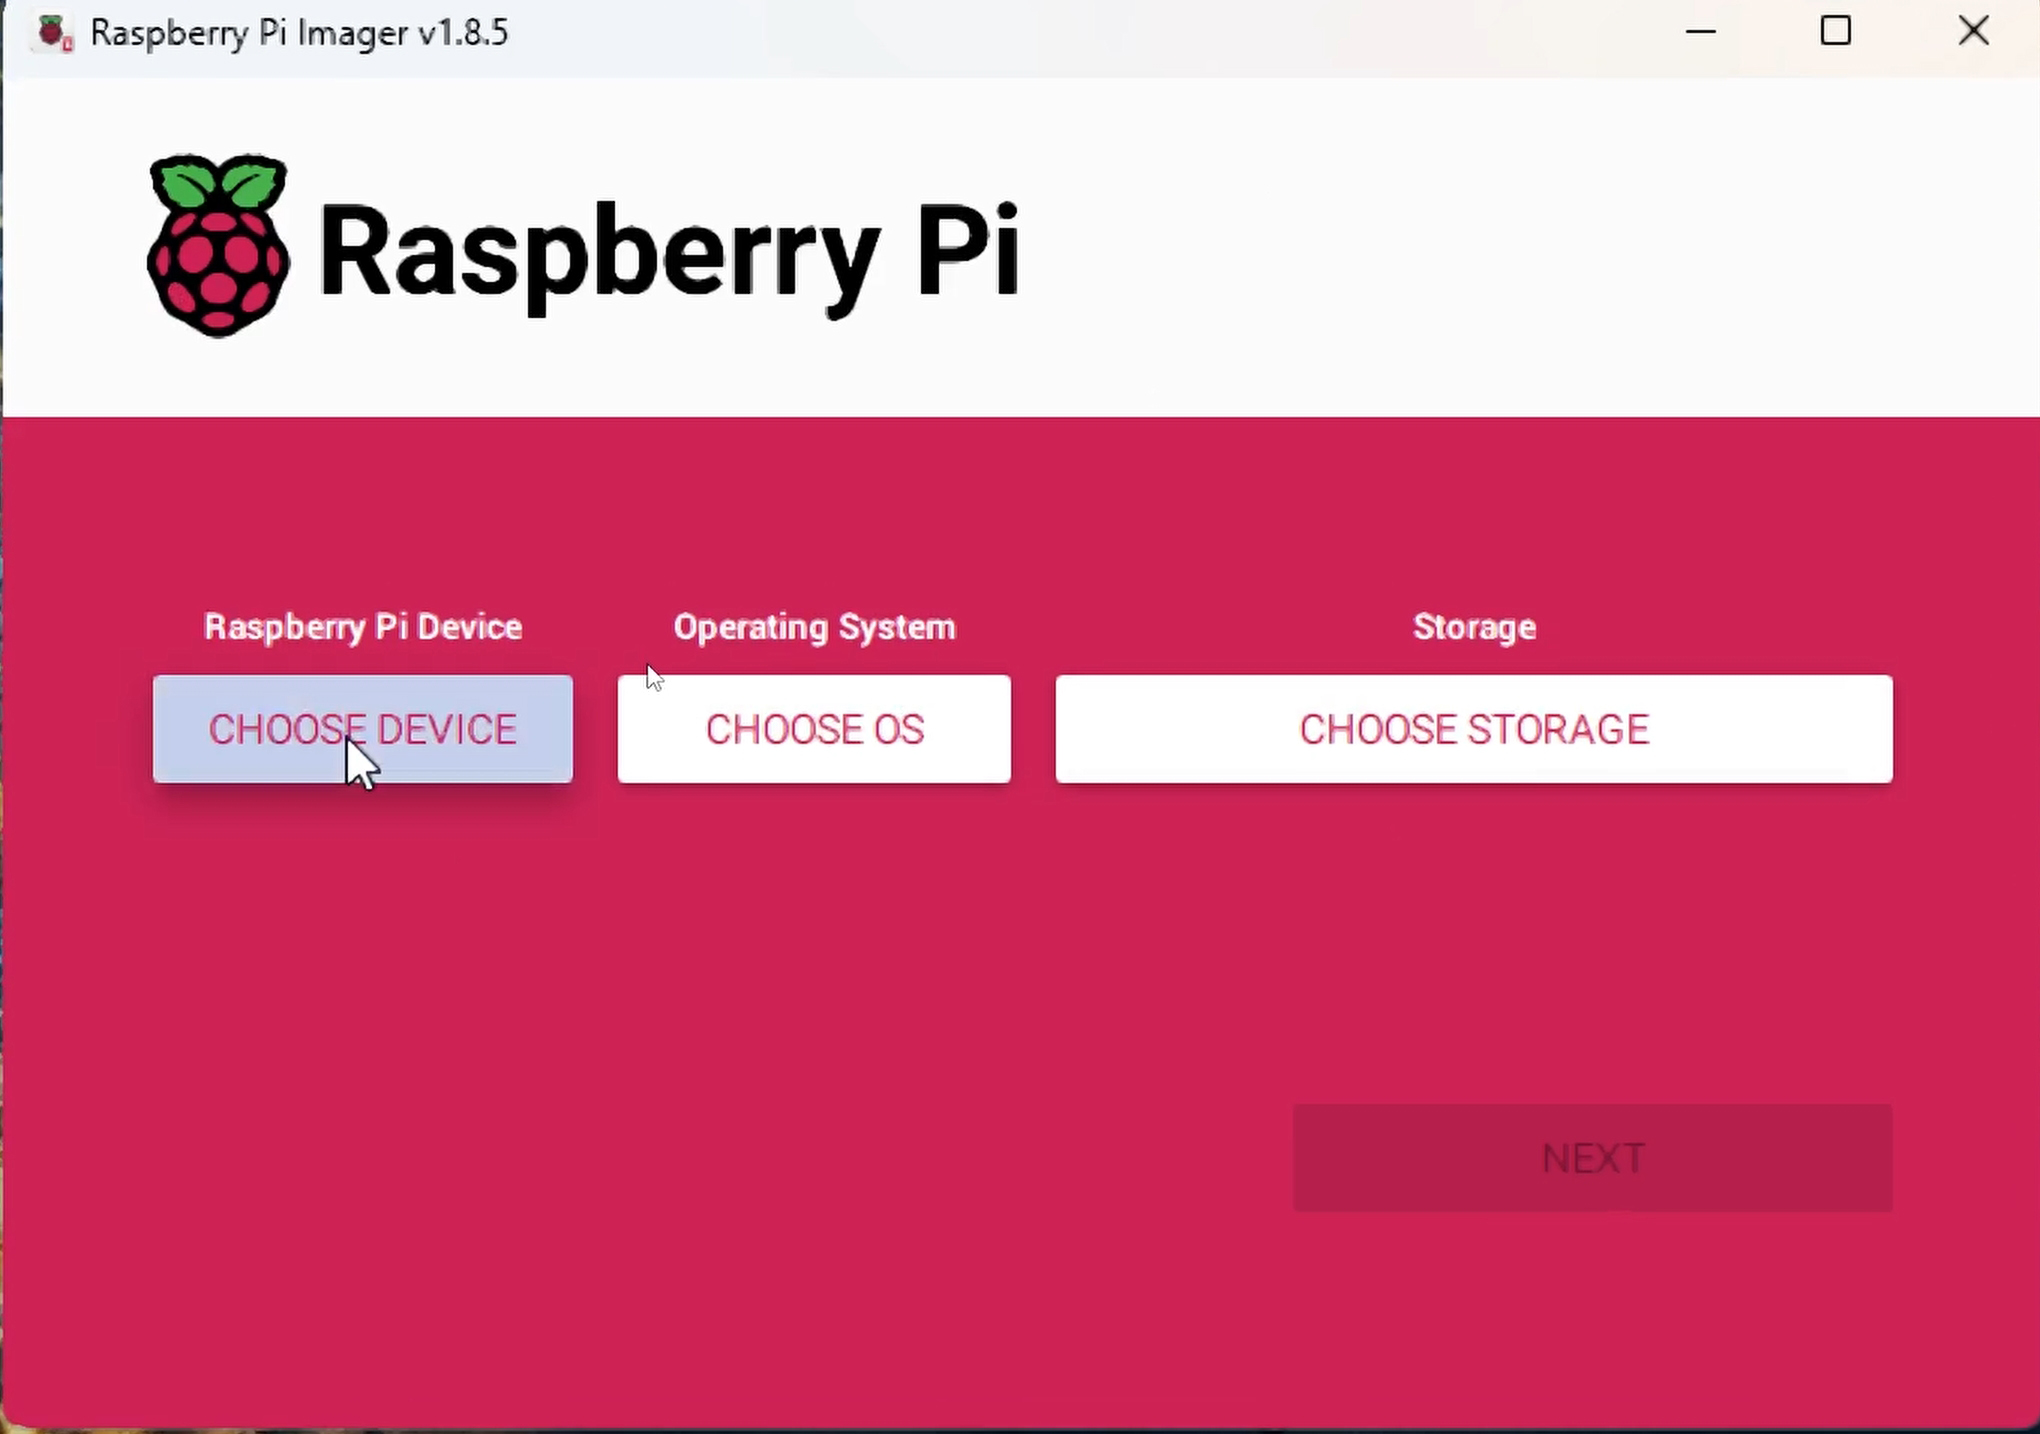
Step 1: Install Raspbian OS
Begin by installing the latest version of Raspbian OS on your Raspberry Pi. This can be done using the Raspberry Pi Imager tool, which is available for Windows, macOS, and Linux.
Step 2: Enable SSH
By default, SSH is disabled on Raspbian for security reasons. To enable it, follow these steps:
- Insert the SD card into your computer
- Create an empty file named "ssh" (without any extension) in the boot partition
- Eject the SD card and insert it into your Raspberry Pi
Step 3: Connect to Your Raspberry Pi
Once SSH is enabled, you can connect to your Raspberry Pi using a terminal or SSH client. Use the following command:
ssh pi@raspberrypi.local
Enter the default password ("raspberry") when prompted.
Security Best Practices for SSH RemoteIoT
While SSH is inherently secure, there are several best practices you can follow to further enhance the security of your IoT devices:
- Use Public Key Authentication: Disable password-based logins and use public key authentication instead. This eliminates the risk of brute-force attacks.
- Change Default Settings: Change the default SSH port (22) to a non-standard port and use a strong, unique password.
- Limit User Access: Restrict SSH access to specific users or IP addresses to minimize the risk of unauthorized access.
By following these best practices, you can ensure that your IoT devices remain secure and protected from potential threats.
Troubleshooting Common SSH Issues
Even with proper setup and configuration, SSH issues can arise. Below are some common problems and their solutions:
Problem: Unable to Connect to Raspberry Pi
Solution: Check that SSH is enabled and ensure that the Raspberry Pi is connected to the same network as your computer. Verify the IP address and try connecting again.
Problem: Permission Denied
Solution: Ensure that public key authentication is correctly configured. Double-check the permissions of the authorized_keys file and ensure it is owned by the correct user.
Advanced Features of SSH for IoT
Beyond basic remote access, SSH offers several advanced features that can enhance your IoT projects:
- Tunneling: Use SSH tunneling to securely access services running on your IoT devices, such as web servers or databases.
- Port Forwarding: Forward ports from your local machine to your IoT device to access services that are not publicly accessible.
- Automation: Automate repetitive tasks using SSH scripts and cron jobs to streamline your workflow.
Free Download Options for SSH Tools
There are several free tools available for managing SSH connections, including:
- PuTTY: A popular SSH client for Windows that supports a wide range of features.
- OpenSSH: A free and open-source SSH client and server implementation available for Linux and macOS.
- Termius: A cross-platform SSH client with a user-friendly interface and support for multiple devices.
These tools can help you manage SSH connections more efficiently and securely.
Real-World Examples of SSH in IoT
SSH is widely used in various IoT applications, including:
- Home Automation: Use SSH to remotely control smart home devices, such as lights, thermostats, and security systems.
- Environmental Monitoring: Monitor weather conditions, air quality, and other environmental factors using IoT sensors connected to Raspberry Pi.
- Industrial Automation: Manage industrial IoT devices, such as robots and machinery, using SSH for secure remote access.
These examples demonstrate the versatility and power of SSH in IoT applications.
Conclusion and Next Steps
In conclusion, SSH RemoteIoT on Raspberry Pi is a powerful tool for securely managing and interacting with IoT devices remotely. By following the steps outlined in this guide, you can set up SSH on your Raspberry Pi and take advantage of its many features to enhance your IoT projects.
We encourage you to take the following steps:
- Experiment with SSH features and explore advanced configurations
- Share your experiences and insights in the comments section below
- Explore other articles on our site for more tips and tricks on IoT and Raspberry Pi
Thank you for reading, and happy tinkering!
Article Recommendations