How To Access Raspberry Pi From Outside Network Windows 10: A Comprehensive Guide
Accessing your Raspberry Pi from outside your local network using Windows 10 is a powerful way to control and manage your devices remotely. Whether you're a tech enthusiast, a hobbyist, or a professional, understanding how to set up remote access can save time and improve productivity. In this article, we will walk you through the steps required to achieve this seamlessly.
Remote access to Raspberry Pi opens up a world of possibilities. Imagine being able to monitor your home security system, control smart home devices, or access files stored on your Raspberry Pi, all from anywhere in the world. However, setting it up correctly involves a few key steps and considerations, which we will cover in detail.
This guide is designed for both beginners and advanced users, ensuring that you understand the technical aspects while avoiding unnecessary complexity. Let’s dive in and explore how you can securely access your Raspberry Pi from outside your local network using Windows 10.
Read also:Discover The Ultimate Comfort At Chase Lounge Laguardia A Travelers Paradise
Table of Contents
- Introduction to Remote Access
- Understanding Raspberry Pi Basics
- Setting Up Windows 10 for Remote Access
- Configuring Port Forwarding
- Setting Up Dynamic DNS
- Establishing SSH Connection
- Using VNC for Remote Desktop
- Implementing Security Measures
- Troubleshooting Common Issues
- Conclusion and Next Steps
Introduction to Remote Access
Remote access refers to the ability to connect to a device or network from a location outside the local network. This capability is crucial for managing servers, controlling IoT devices, or accessing files remotely. When it comes to Raspberry Pi, remote access allows you to perform tasks such as monitoring, configuring, and troubleshooting without physical presence.
Why Remote Access Matters
Here are a few reasons why remote access is important:
- Convenience: Access your Raspberry Pi from anywhere in the world.
- Efficiency: Save time by managing devices remotely.
- Flexibility: Perform tasks that require a graphical interface without being on-site.
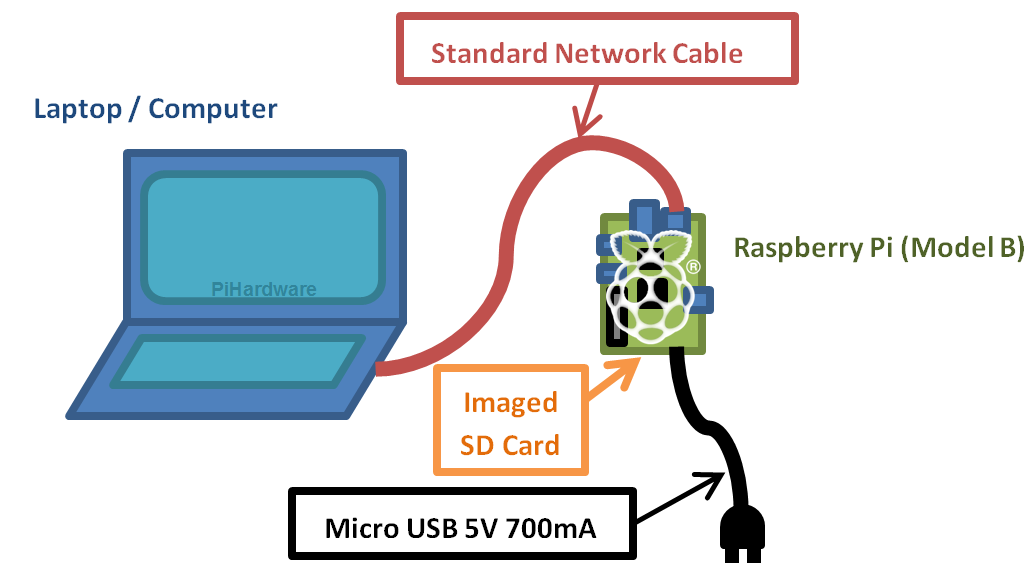
Understanding Raspberry Pi Basics
Before diving into the technical aspects of remote access, it’s essential to have a basic understanding of Raspberry Pi. Raspberry Pi is a small, affordable computer that can be used for a wide range of applications, from home automation to web servers.
Key Features of Raspberry Pi
Raspberry Pi offers several features that make it ideal for remote access:
- Compact Size: Easy to set up and manage.
- Low Power Consumption: Ideal for long-term use.
- Versatility: Supports multiple operating systems and applications.
Setting Up Windows 10 for Remote Access
To access your Raspberry Pi from Windows 10, you need to ensure that your Windows machine is properly configured. This includes installing necessary software and setting up network preferences.
Installing Required Software
Here are the tools you’ll need:
Read also:Tom Burke Height In Feet A Comprehensive Look At The Actors Stature And Career
- Putty: For SSH connections.
- VNC Viewer: For remote desktop access.
Configuring Port Forwarding
Port forwarding is a crucial step in enabling remote access. It allows traffic from the internet to reach your Raspberry Pi by directing specific ports to the device’s local IP address.
Steps to Configure Port Forwarding
Follow these steps:
- Log in to your router’s admin interface.
- Locate the port forwarding section.
- Set up rules for SSH (port 22) and VNC (port 5900).
Setting Up Dynamic DNS
Dynamic DNS (DDNS) ensures that your Raspberry Pi remains accessible even if your public IP address changes. Services like No-IP or DuckDNS can be used to achieve this.
How DDNS Works
DDNS assigns a fixed domain name to your dynamic IP address, making it easier to connect to your Raspberry Pi from outside the network.
Establishing SSH Connection
SSH (Secure Shell) is a secure protocol for accessing Raspberry Pi remotely. It allows you to execute commands and manage files without a graphical interface.
Connecting via SSH
Use the following command in Putty:
ssh pi@your-domain.com
Using VNC for Remote Desktop
VNC (Virtual Network Computing) provides a graphical interface for remote access. This is useful for tasks that require visual interaction with your Raspberry Pi.
Setting Up VNC Server
Install the VNC server on your Raspberry Pi and configure it to start automatically on boot.
Implementing Security Measures
Security is paramount when setting up remote access. Here are some best practices:
- Use strong passwords.
- Enable two-factor authentication (2FA) if possible.
- Regularly update your software and firmware.
Troubleshooting Common Issues
Even with careful setup, issues can arise. Here are some common problems and their solutions:
- Connection Refused: Check your port forwarding settings.
- Authentication Failed: Ensure you’re using the correct credentials.
- Slow Connection: Optimize your network settings.
Conclusion and Next Steps
In conclusion, accessing your Raspberry Pi from outside your local network using Windows 10 is a valuable skill that can enhance your productivity and flexibility. By following the steps outlined in this guide, you can set up a secure and efficient remote access system.
We encourage you to share your experience in the comments below. Additionally, explore other articles on our site for more tips and tricks on Raspberry Pi and remote access technologies.
Stay informed, stay connected, and keep innovating!
Article Recommendations